Overview
This guide walks you through the setup of your very first voice assistant using LiveKit Agents for Python. In less than 10 minutes, you'll have a voice assistant that you can speak to in your terminal, browser, telephone, or native app.
The LiveKit Agent Builder is a quick way to get started with voice agents in your browser, without writing any code. It's perfect for protototyping and exploring ideas, but doesn't have as many features as the full LiveKit Agents SDK. See the Agent Builder guide for more details.
Starter projects
The simplest way to get your first agent running is with one of the following starter projects. Click "Use this template" in the top right to create a new repo on GitHub, then follow the instructions in the project's README.
These projects are constructed with best-practices, a complete working agent, tests, and an AGENTS.md optimized to turn your coding assistant into a LiveKit expert.
Python starter project
Ready-to-go Python starter project. Clone a repo with all the code you need to get started.
Node.js starter project
Ready-to-go Node.js starter project. Clone a repo with all the code you need to get started.
Requirements
The following sections describe the minimum requirements to get started with LiveKit Agents.
- LiveKit Agents requires Python >= 3.10.
- This guide uses the uv package manager.
- LiveKit Agents for Node.js requires Node.js >= 20.
- This guide uses pnpm package manager and requires pnpm >= 10.15.0.
LiveKit Cloud
This guide assumes you have signed up for a free LiveKit Cloud account. LiveKit Cloud includes agent deployment, model inference, and realtime media transport. Create a free project and use the API keys in the following steps to get started.
While this guide assumes LiveKit Cloud, the instructions can be adapted for self-hosting the open-source LiveKit server instead. For self-hosting in production, set up a custom deployment environment, and make the following changes: remove the enhanced noise cancellation plugin from the agent code, and use plugins for your own AI providers.
LiveKit Docs MCP server
If you're using an AI coding assistant, you should install the LiveKit Docs MCP server to get the most out of it. This ensures your agent has access to the latest documentation and examples. The starter projects also include an AGENTS.md file with instructions for using the MCP server and other important information about building agents with LiveKit.
LiveKit CLI
Use the LiveKit CLI to manage LiveKit API keys and deploy your agent to LiveKit Cloud.
Install the LiveKit CLI:
Install the LiveKit CLI with Homebrew:
brew install livekit-clicurl -sSL https://get.livekit.io/cli | bashTipYou can also download the latest precompiled binaries here.
winget install LiveKit.LiveKitCLITipYou can also download the latest precompiled binaries here.
This repo uses Git LFS for embedded video resources. Please ensure git-lfs is installed on your machine before proceeding.
git clone github.com/livekit/livekit-climake installLink your LiveKit Cloud project to the CLI:
lk cloud authThis opens a browser window to authenticate and link your project to the CLI.
AI models
Voice agents require one or more AI models to provide understanding, intelligence, and speech. LiveKit Agents supports both high-performance STT-LLM-TTS voice pipelines constructed from multiple specialized models, as well as realtime models with direct speech-to-speech capabilities.
The rest of this guide assumes you use one of the following two starter packs, which provide the best combination of value, features, and ease of setup.
Your agent strings together three specialized providers into a high-performance voice pipeline powered by LiveKit Inference. No additional setup is required.

| Component | Model | Alternatives |
|---|---|---|
| STT | Deepgram Nova-3 | STT models |
| LLM | OpenAI GPT-4.1 mini | LLM models |
| TTS | Cartesia Sonic-3 | TTS models |
Your agent uses a single realtime model to provide an expressive and lifelike voice experience.

| Model | Required Key | Alternatives |
|---|---|---|
| OpenAI Realtime API | OPENAI_API_KEY | Realtime models |
Setup
Use the instructions in the following sections to set up your new project.
Project initialization
Create a new project for the voice agent.
Run the following commands to use uv to create a new project ready to use for your new voice agent.
uv init livekit-voice-agent --barecd livekit-voice-agent
Run the following commands to use pnpm to create a new TypeScript-based project ready to use for your new voice agent.
mkdir livekit-voice-agentcd livekit-voice-agentpnpm init --init-type modulepnpm add -D typescript tsxpnpm exec tsc --init
Install packages
Install the following packages to build a complete voice AI agent with your STT-LLM-TTS pipeline, noise cancellation, and turn detection:
uv add \"livekit-agents[silero,turn-detector]~=1.4" \"livekit-plugins-noise-cancellation~=0.2" \"python-dotenv"
Install the following packages to build a complete voice AI agent with your realtime model and noise cancellation.
uv add \"livekit-agents[openai]~=1.4" \"livekit-plugins-noise-cancellation~=0.2" \"python-dotenv"
Environment variables
Run the following command to load your LiveKit Cloud API keys into a .env.local file:
lk app env -w
The file should look like this:
LIVEKIT_API_KEY=<your API Key>LIVEKIT_API_SECRET=<your API Secret>LIVEKIT_URL=<your LiveKit server URL>
You must also set the OPENAI_API_KEY environment variable, using your own OpenAI platform account.
LIVEKIT_API_KEY=<your API Key>LIVEKIT_API_SECRET=<your API Secret>LIVEKIT_URL=<your LiveKit server URL>OPENAI_API_KEY=<Your OpenAI API Key>
Agent code
Create a file with your agent code.
from dotenv import load_dotenvfrom livekit import agents, rtcfrom livekit.agents import AgentServer,AgentSession, Agent, room_iofrom livekit.plugins import noise_cancellation, silerofrom livekit.plugins.turn_detector.multilingual import MultilingualModelload_dotenv(".env.local")class Assistant(Agent):def __init__(self) -> None:super().__init__(instructions="""You are a helpful voice AI assistant.You eagerly assist users with their questions by providing information from your extensive knowledge.Your responses are concise, to the point, and without any complex formatting or punctuation including emojis, asterisks, or other symbols.You are curious, friendly, and have a sense of humor.""",)server = AgentServer()@server.rtc_session(agent_name="my-agent")async def my_agent(ctx: agents.JobContext):session = AgentSession(stt="deepgram/nova-3:multi",llm="openai/gpt-4.1-mini",tts="cartesia/sonic-3:9626c31c-bec5-4cca-baa8-f8ba9e84c8bc",vad=silero.VAD.load(),turn_detection=MultilingualModel(),)await session.start(room=ctx.room,agent=Assistant(),room_options=room_io.RoomOptions(audio_input=room_io.AudioInputOptions(noise_cancellation=lambda params: noise_cancellation.BVCTelephony() if params.participant.kind == rtc.ParticipantKind.PARTICIPANT_KIND_SIP else noise_cancellation.BVC(),),),)await session.generate_reply(instructions="Greet the user and offer your assistance.")if __name__ == "__main__":agents.cli.run_app(server)
from dotenv import load_dotenvfrom livekit import agents, rtcfrom livekit.agents import AgentServer, AgentSession, Agent, room_iofrom livekit.plugins import (openai,noise_cancellation,)load_dotenv(".env.local")class Assistant(Agent):def __init__(self) -> None:super().__init__(instructions="You are a helpful voice AI assistant.")server = AgentServer()@server.rtc_session(agent_name="my-agent")async def my_agent(ctx: agents.JobContext):session = AgentSession(llm=openai.realtime.RealtimeModel(voice="coral"))await session.start(room=ctx.room,agent=Assistant(),room_options=room_io.RoomOptions(audio_input=room_io.AudioInputOptions(noise_cancellation=lambda params: noise_cancellation.BVCTelephony() if params.participant.kind == rtc.ParticipantKind.PARTICIPANT_KIND_SIP else noise_cancellation.BVC(),),),)await session.generate_reply(instructions="Greet the user and offer your assistance. You should start by speaking in English.")if __name__ == "__main__":agents.cli.run_app(server)
Download model files
To use the turn-detector, silero, and noise-cancellation plugins, you first need to download the model files:
uv run agent.py download-files
Add the
download-filesscript to yourpackage.jsonfile:pnpm pkg set "scripts.download-files=tsc && node main.js download-files"After you add the
download-filesscript, run the following command:pnpm download-files
Speak to your agent
If you're using Node.js, you can skip this setup and continue to Connect to playground.
Start your agent in console mode to run inside your terminal:
uv run agent.py console
Your agent speaks to you in the terminal, and you can speak to it as well.
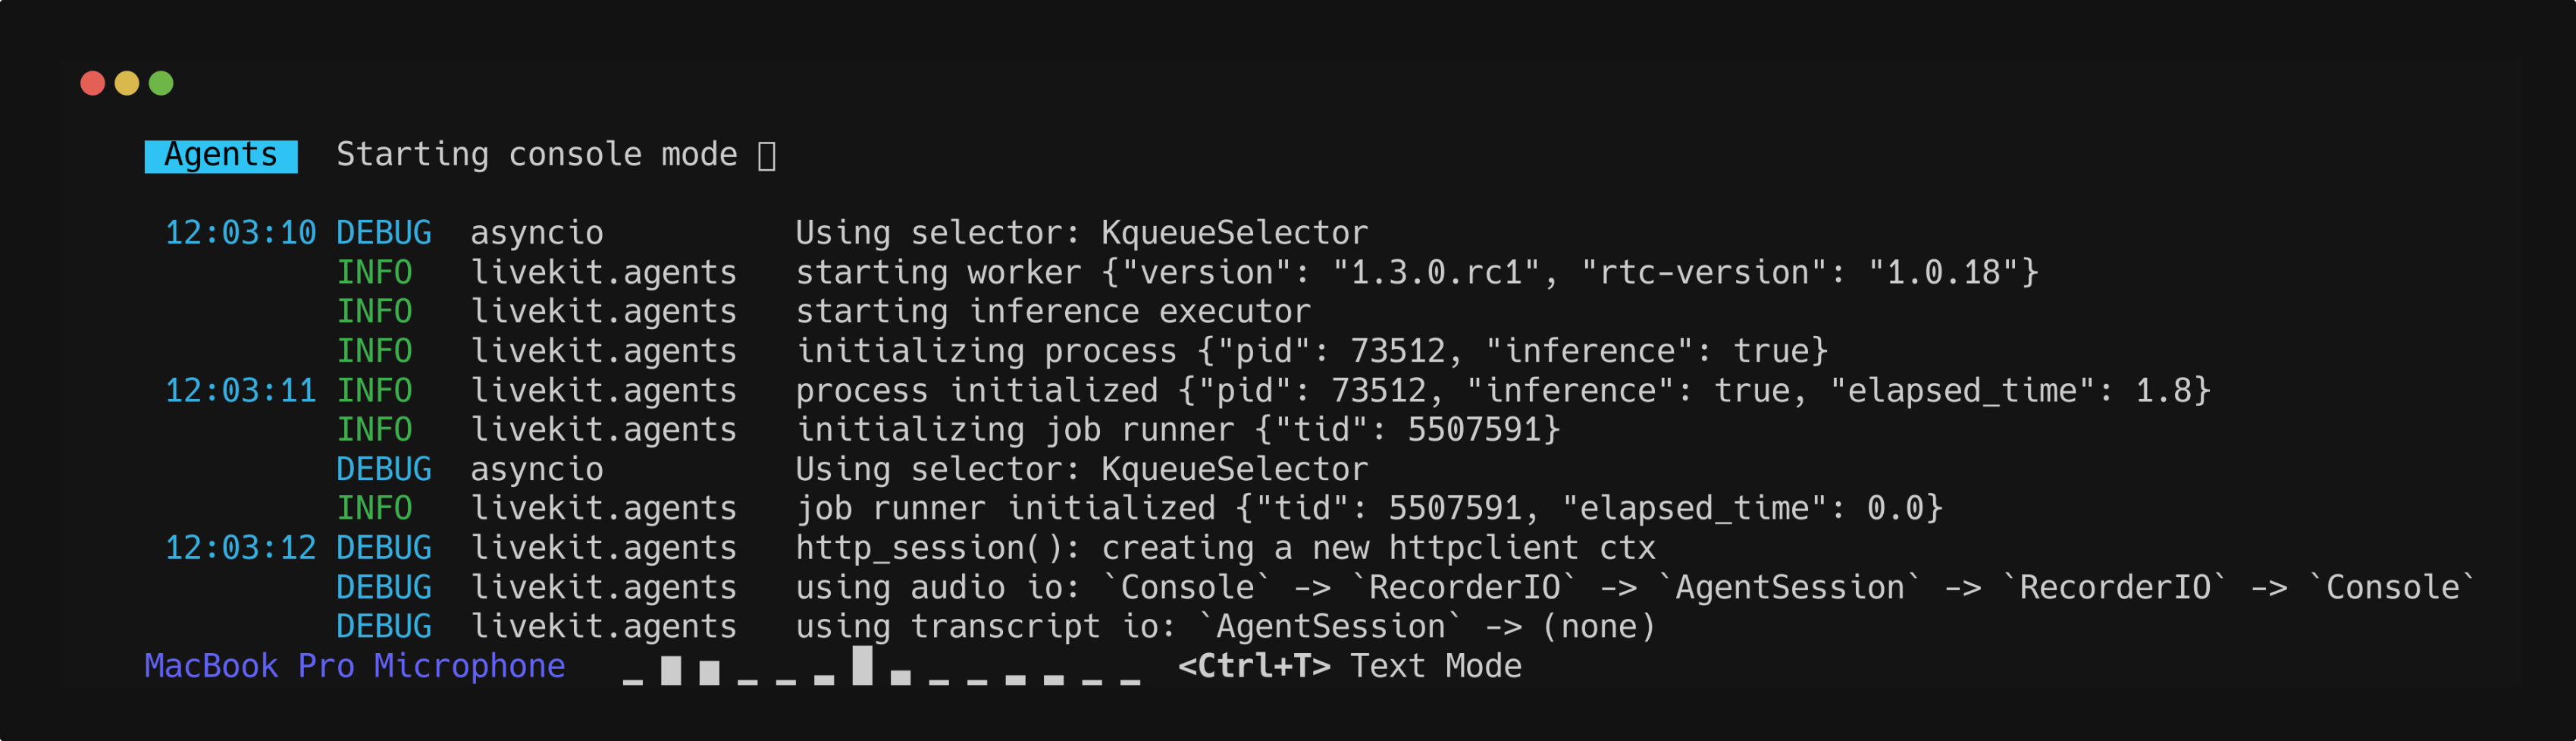
Console mode also supports text-only interaction, lets you configure input and output devices, and record sessions to local files. To learn more about console mode, see the Server startup modes reference.
Connect to playground
Start your agent in dev mode to connect it to LiveKit and make it available from anywhere on the internet:
uv run agent.py dev
Add the dev script to your
package.jsonfile:pnpm pkg set "scripts.dev=tsx main.ts dev"After you add the dev script, anytime you want to run your agent in development mode, run the following command:
pnpm dev
Use the Agents playground to speak with your agent and explore its full range of multimodal capabilities.
Server startup modes
In the dev and start modes, your agent connects to LiveKit Cloud and joins rooms:
devmode: Run your agent in development mode for testing and debugging.startmode: Run your agent in production mode.
For Python agents, run the following command to start your agent in production mode:
uv run agent.py start
For Node.js agents, you need to add the build and start scripts to your package.json file to use production mode.
pnpm pkg set "scripts.build=tsc"pnpm pkg set "scripts.start=node main.js start"
Now run the following commands to build and start your agent for production:
pnpm buildpnpm start
To learn more about dev and start modes, see the Server startup modes reference.
Deploy to LiveKit Cloud
From the root of your project, run the following command with the LiveKit CLI. Ensure you have linked your LiveKit Cloud project and added the build and start scripts.
lk agent create
The CLI creates Dockerfile, .dockerignore, and livekit.toml files in your current directory, then registers your agent with your LiveKit Cloud project and deploys it.
After the deployment completes, you can access your agent in the playground, or continue to use the console mode as you build and test your agent locally.
Next steps
Follow these guides bring your voice AI app to life in the real world.
Web and mobile frontends
Put your agent in your pocket with a custom web or mobile app.
Telephony integration
Your agent can place and receive calls with LiveKit's SIP integration.
Testing your agent
Add behavioral tests to fine-tune your agent's behavior.
Building voice agents
Comprehensive documentation to build advanced voice AI apps with LiveKit.
Agent server
Learn how to manage your agents with agent servers and jobs.
Deploying to LiveKit Cloud
Learn more about deploying and scaling your agent in production.
AI Models
Explore the full list of AI models available with LiveKit Agents.
Recipes
A comprehensive collection of examples, guides, and recipes for LiveKit Agents.