Overview
LiveKit Agents is ready to integrate with your preferred frontend platform using the LiveKit SDKs for JavaScript, Swift, Android, Flutter, React Native, and more. Your agent can communicate with your frontend through LiveKit WebRTC, which provides fast and reliable realtime connectivity.
For example, a simple voice agent subscribes to the user's microphone track and publishes its own. Text transcriptions are also available as text streams. A more complex agent with vision capabilities can subscribe to a video track published from the user's camera or shared screen. An agent can also publish its own video to implement a virtual avatar or other features.
In all of these cases, the LiveKit SDKs are production grade and easy to use so you can build useful and advanced agents without worrying about the complexities of realtime media delivery. This topic contains resources and tips for building a high-quality frontend for your agent.
Starter apps
LiveKit recommends using one of the following starter apps to get up and running quickly on your preferred platform. Each app is open source under the MIT License so you can freely modify it to your own needs. The mobile apps require a hosted token server, but include a LiveKit Cloud Sandbox for development purposes.
SwiftUI Voice Agent
Next.js Voice Agent
Flutter Voice Agent
React Native Voice Agent
Android Voice Agent
Web Embed Voice Agent
Media and text
To learn more about realtime media and text streams, see the following documentation.
Media tracks
Use the microphone, speaker, cameras, and screenshare with your agent.
Text streams
Send and receive realtime text and transcriptions.
Data sharing
To share images, files, or any other kind of data between your frontend and your agent, you can use the following features.
Byte streams
Send and receive images, files, or any other data.
Data packets
Low-level API for sending and receiving any kind of data.
State and control
In some cases, your agent and your frontend code might need a custom integration of state and configuration to meet your application's requirements. In these cases, the LiveKit realtime state and data features can be used to create a tightly-coupled and responsive experience.
AgentSession automatically manages the lk.agent.state participant attribute to contain the appropriate string value from among initializing, listening, thinking, or speaking.
State synchronization
Share custom state between your frontend and agent.
RPC
Define and call methods on your agent or your frontend from the other side.
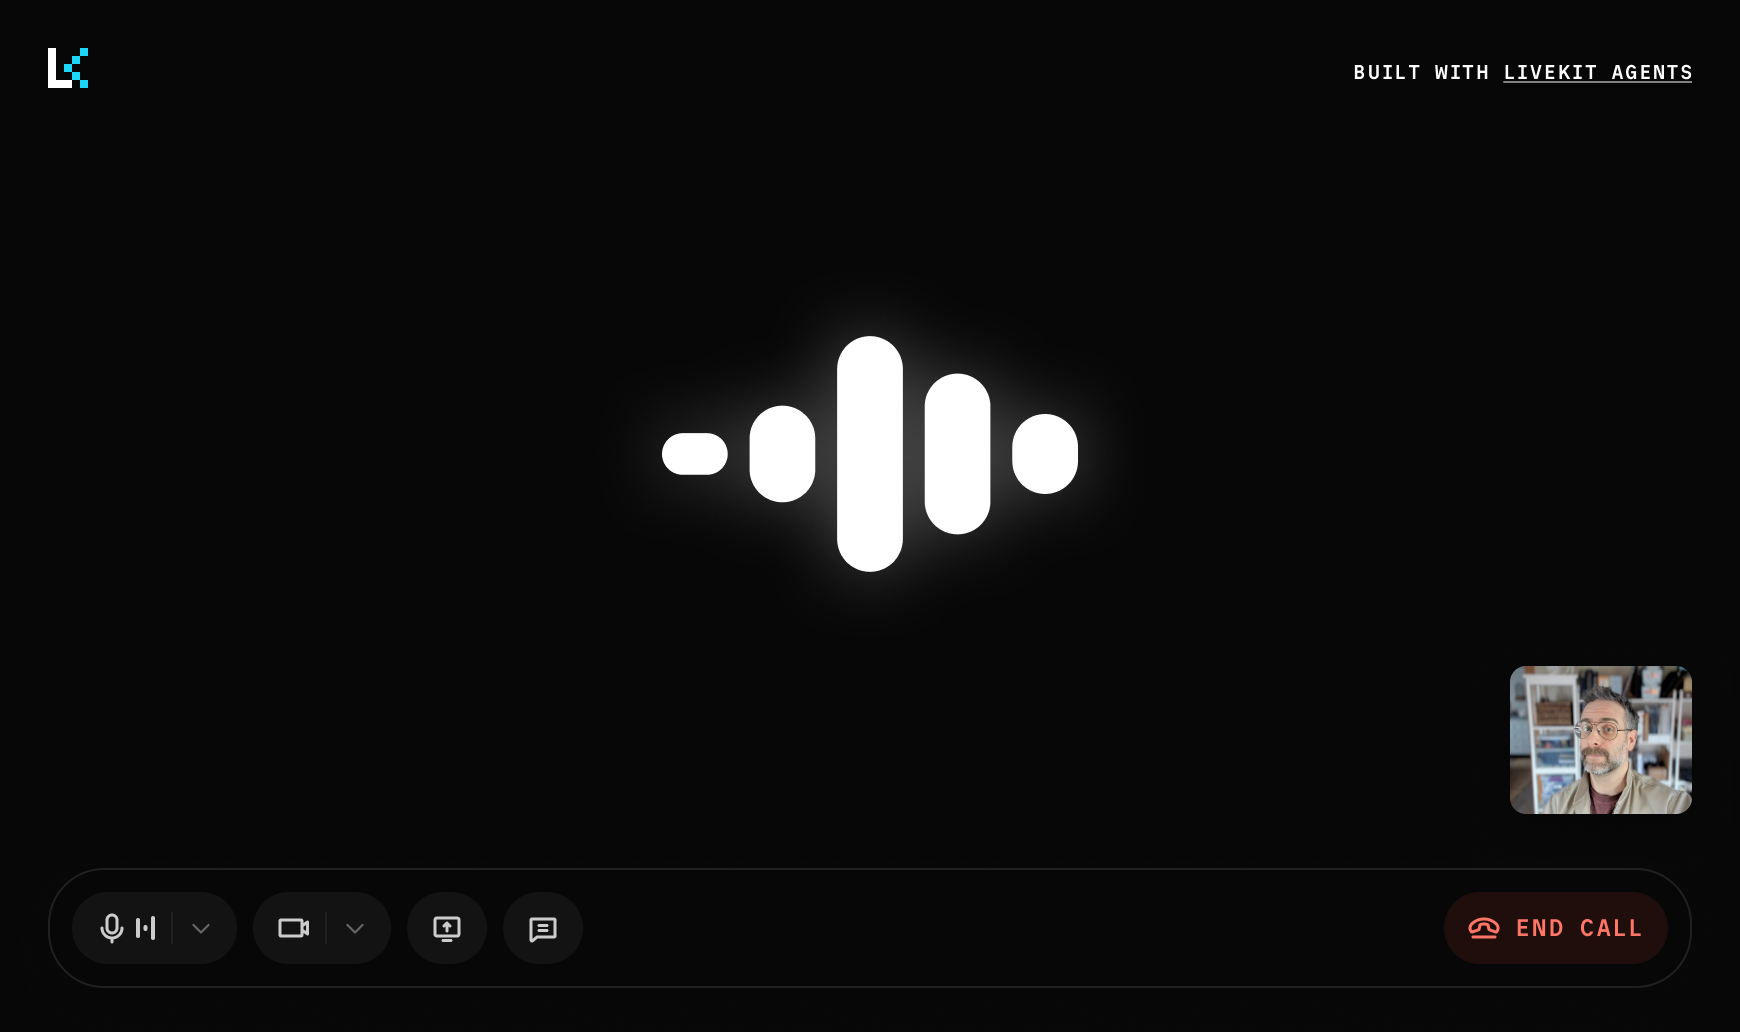
Audio visualizer
The LiveKit component SDKs for React, SwiftUI, Android Compose, and Flutter include an audio visualizer component that can be used to give your voice agent a visual presence in your application.
For complete examples, see the sample apps listed above. The following documentation is a quick guide to using these components:
Install the React components and styles packages to use the useVoiceAssistant hook and the BarVisualizer. These components work automatically within a LiveKitRoom or RoomContext.Provider).
Also see VoiceAssistantControlBar, which provides a simple set of common UI controls for voice agent applications.
"use client";import "@livekit/components-styles";import {useVoiceAssistant,BarVisualizer,} from "@livekit/components-react";export default function SimpleVoiceAssistant() {// Get the agent's audio track and current stateconst { state, audioTrack } = useVoiceAssistant();return (<div className="h-80"><BarVisualizer state={state} barCount={5} trackRef={audioTrack} style={{}} /><p className="text-center">{state}</p></div>);}
Authentication
The LiveKit SDKs require a token to connect to a room. In web apps, you can typically include a simple token endpoint as part of the app. For mobile apps, you need a separate token server.
Virtual avatars
Your frontend can include a video representation of your agent using a virtual avatar from a supported provider. LiveKit includes full support for video rendering on all supported platforms. The starter apps include support for virtual avatars. For more information and a list of supported providers, consult the documentation:
Virtual avatars
Use a virtual avatar to give your agent a visual presence in your app.
Responsiveness tips
This section contains some suggestions to make your app feel more responsive to the user.
Minimize connection time
To connect your user to your agent, these steps must all occur:
- Fetch an access token.
- The user connects to the room.
- Dispatch an agent process.
- The agent connects to the room.
- User and agent publish and subscribe to each other's media tracks.
If done in sequence, this takes up to a few seconds to complete. You can reduce this time by eliminating or parallelizing these steps.
Option 1: "Warm" token
In this case, your application will generate a token for the user at login with a long expiration time. When you need to connect to the room, the token is already available in your frontend.
Option 2: Dispatch agent during token generation
In this case, your application will optimistically create a room and dispatch the agent at the same time the token is generated, using explicit agent dispatch. This allows the user and the agent to connect to the room at the same time.
Connection indicators
Make your app feel more responsive, even when slow to connect, by linking various events into only one or two status indicators for the user rather than a number of discrete steps and UI changes. Refer to the event handling documentation for more information on how to monitor the connection state and other events.
In the case that your agent fails to connect, you should notify the user and allow them to try again rather than leaving them to speak into an empty room.
- Room connection: The
room.connectmethod can be awaited in most SDKs, and most also provide aroom.connectionStateproperty. Also monitor theDisconnectedevent to know when the connection is lost. - Agent presence: Monitor
ParticipantConnectedevents withparticipant.kind === ParticipantKind.AGENT - Agent state: Access the agent's state (
initializing,listening,thinking, orspeaking) - Track subscription: Listen for
TrackSubscribedevents to know when your media has been subscribed to.
Effects
You should use sound effects, haptic feedback, and visual effects to make your agent feel more responsive. This is especially important during long thinking states (for instance, when performing external lookups or tool use). The visualizer includes basic "thinking" state indication and also allows the user to notice when their audio is not working. For more advanced effects, use the state and control features to trigger effects in your frontend.