Introduction
Regardless of whether you self-host or use Cloud, a participant creating or joining a room requires an access token. API and secret key pairs which are used to generate access tokens can be created in your project's dashboard.
Generating API and secret keys
To generate a new API and secret key pair:
- Navigate to your project's Settings.
- Select the Keys tab. You may see an existing key named Autogenerated, which you can ignore. These keys were created by us with the purpose of generating access tokens for your project's onboarding and playground environment.
- Click the button marked, Add New Key.
- Give your key pair a Description.
- Click Generate.
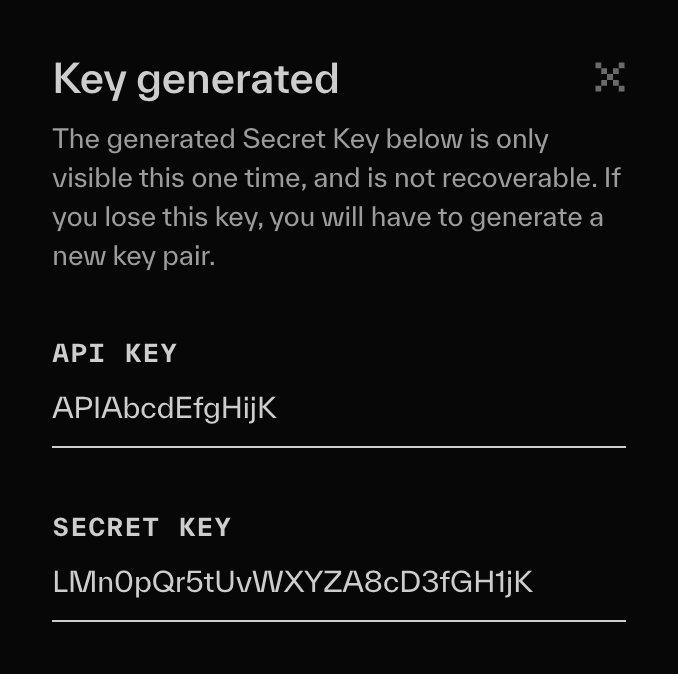
You should see something like this:

Be sure to write your secret key down or store it some place safe.
NEVER embed your API or secret key in a client application. If an untrusted individual gains access to them, they'll have full control over creating or joining rooms associated with your project! In the unfortunate situation where your keys are compromised, remove them in your project's dashboard and generate a new key pair.
Generating access tokens
In most cases, you'll generate access tokens programmatically using on of our server SDKs, but tokens can also be generated (for testing or other purposes) via CLI or your project's dashboard. In the latter case, simply click the Generate Token button corresponding to the key pair you want to use to generate the token.
Once you've generated a token, you can use our example app, to test your LiveKit Cloud instance. Your LiveKit URL is the wss://<domain>.livekit.cloud address you chose when creating your project (if you forgot or were invited to a project, you can find this URL under the Project tab in Settings or at the very top of the project Dashboard) page.